Firebase project setup
Open the firebase console
Go to https://console.firebase.google.com/ and sign in with your google account.
Create the firebase project
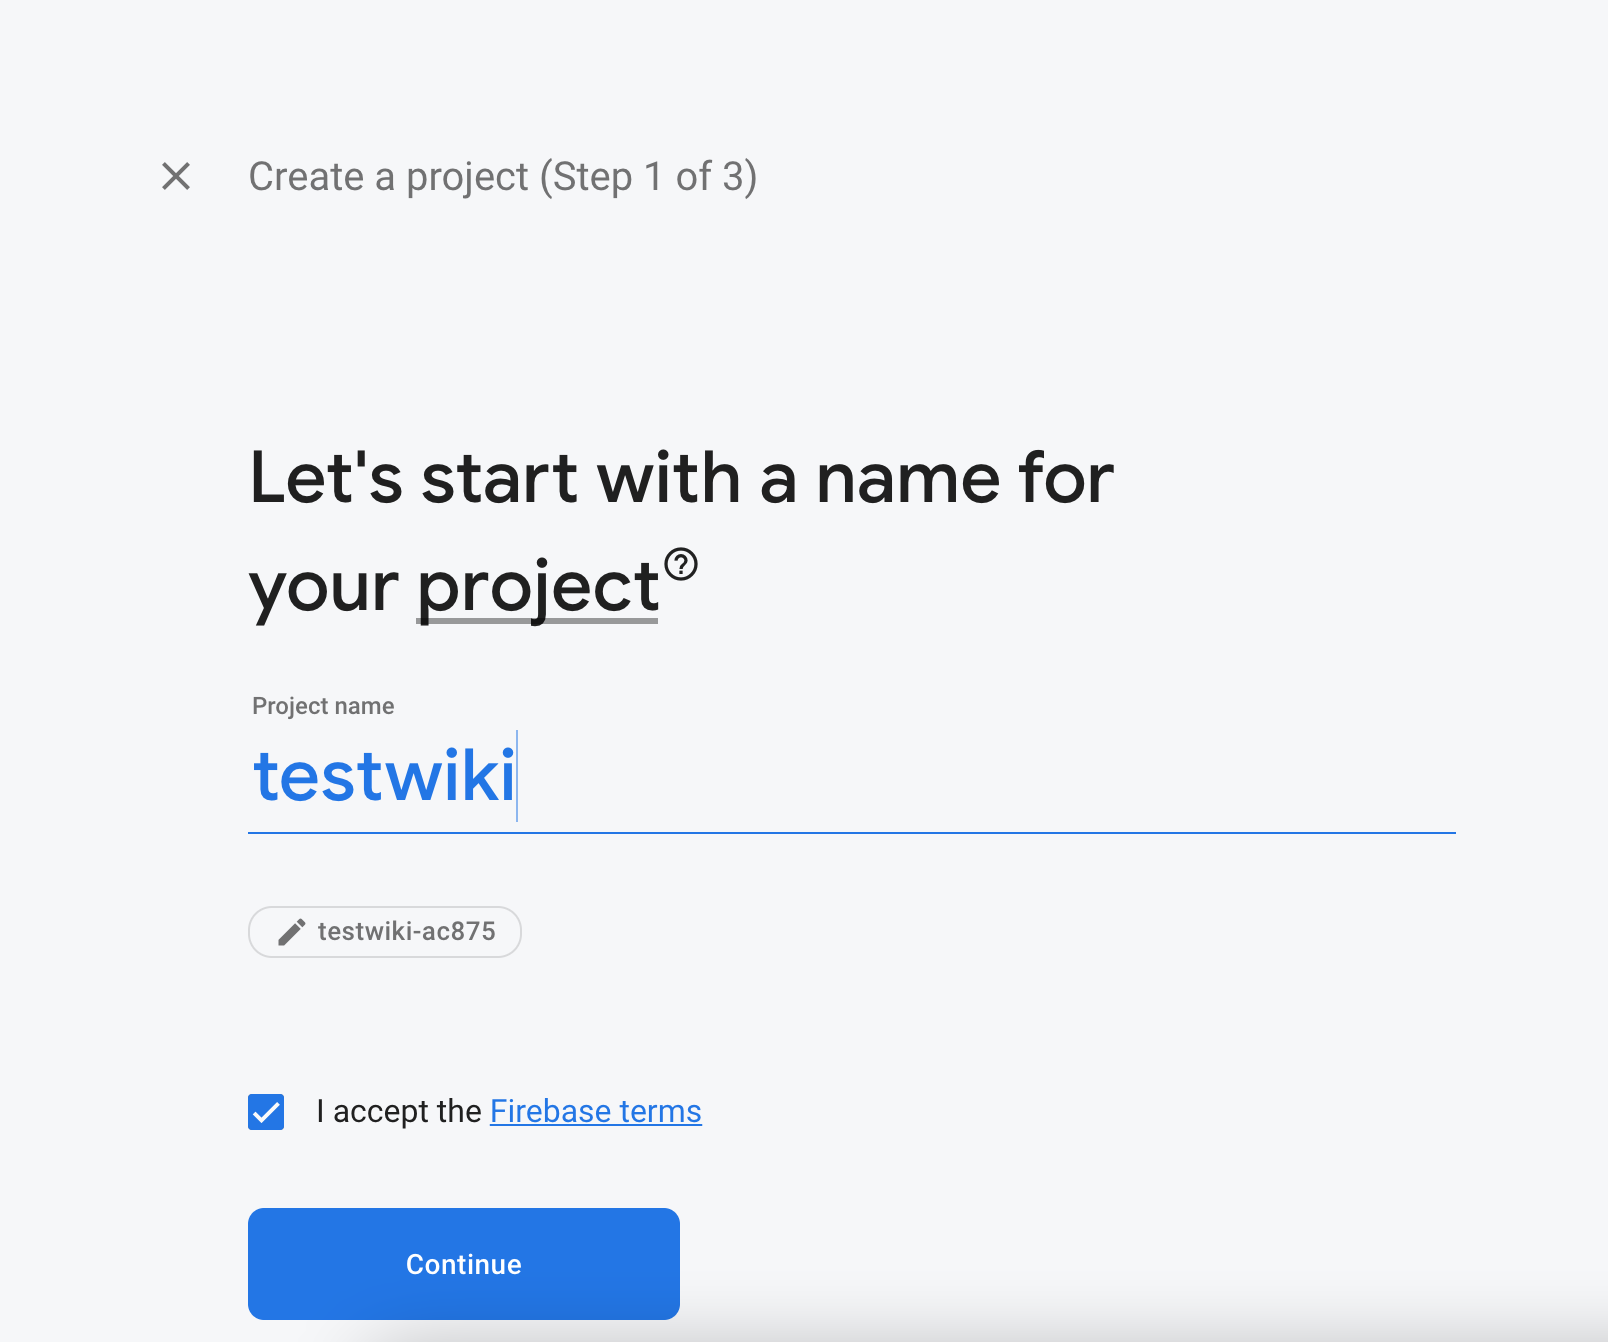
Click the Create a project button. Choose whatever name you like. In this tutorial, we'll use testwiki. Be sure to tick the "I accept ..." box before trying to set the project name. Click Continue.
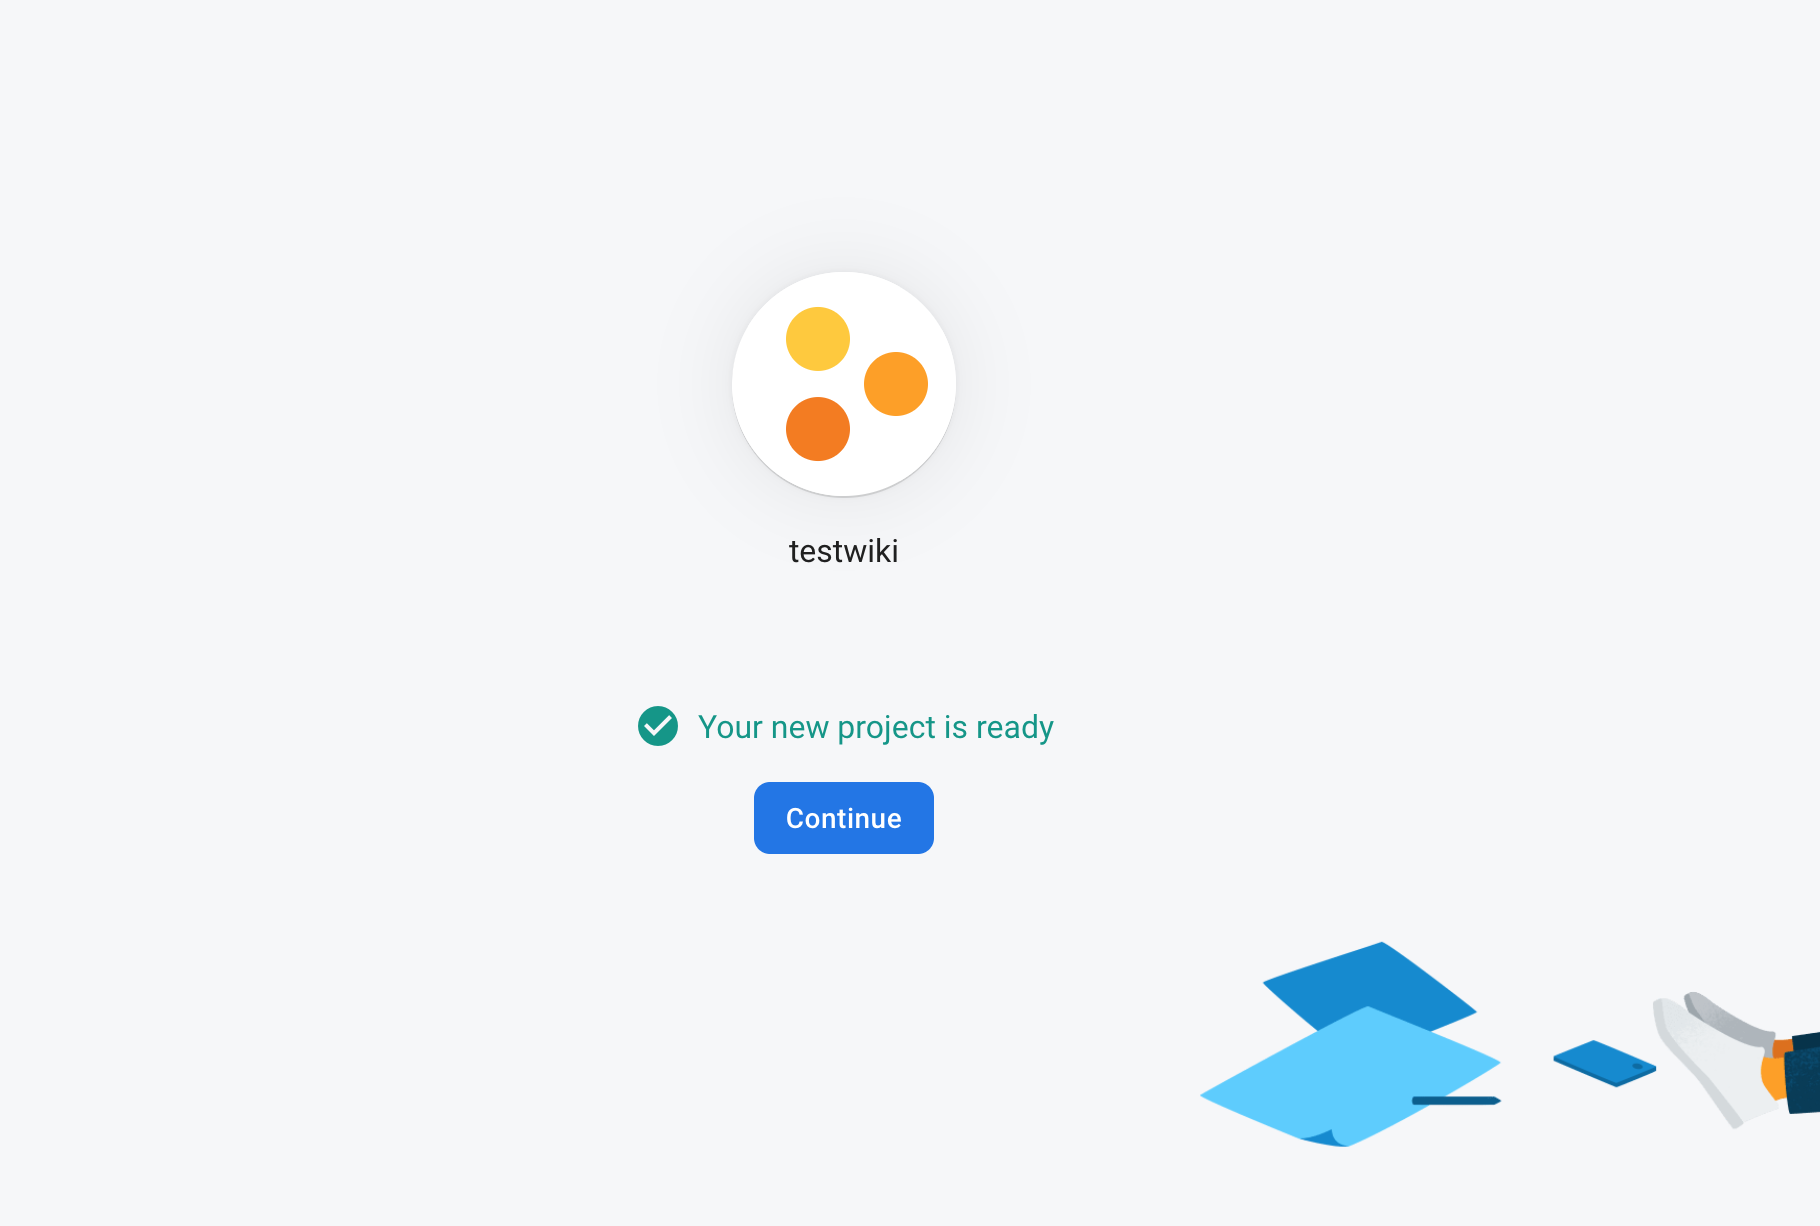
Click Continue again on the Google Analytics for your Firebase project and Configure Google Analytics screens. Tick any checkboxes required to proceed. Finally, your project will be ready.
Create a web app within your project
After clicking Continue once the project has been created, you will be taken to the firebase admin.
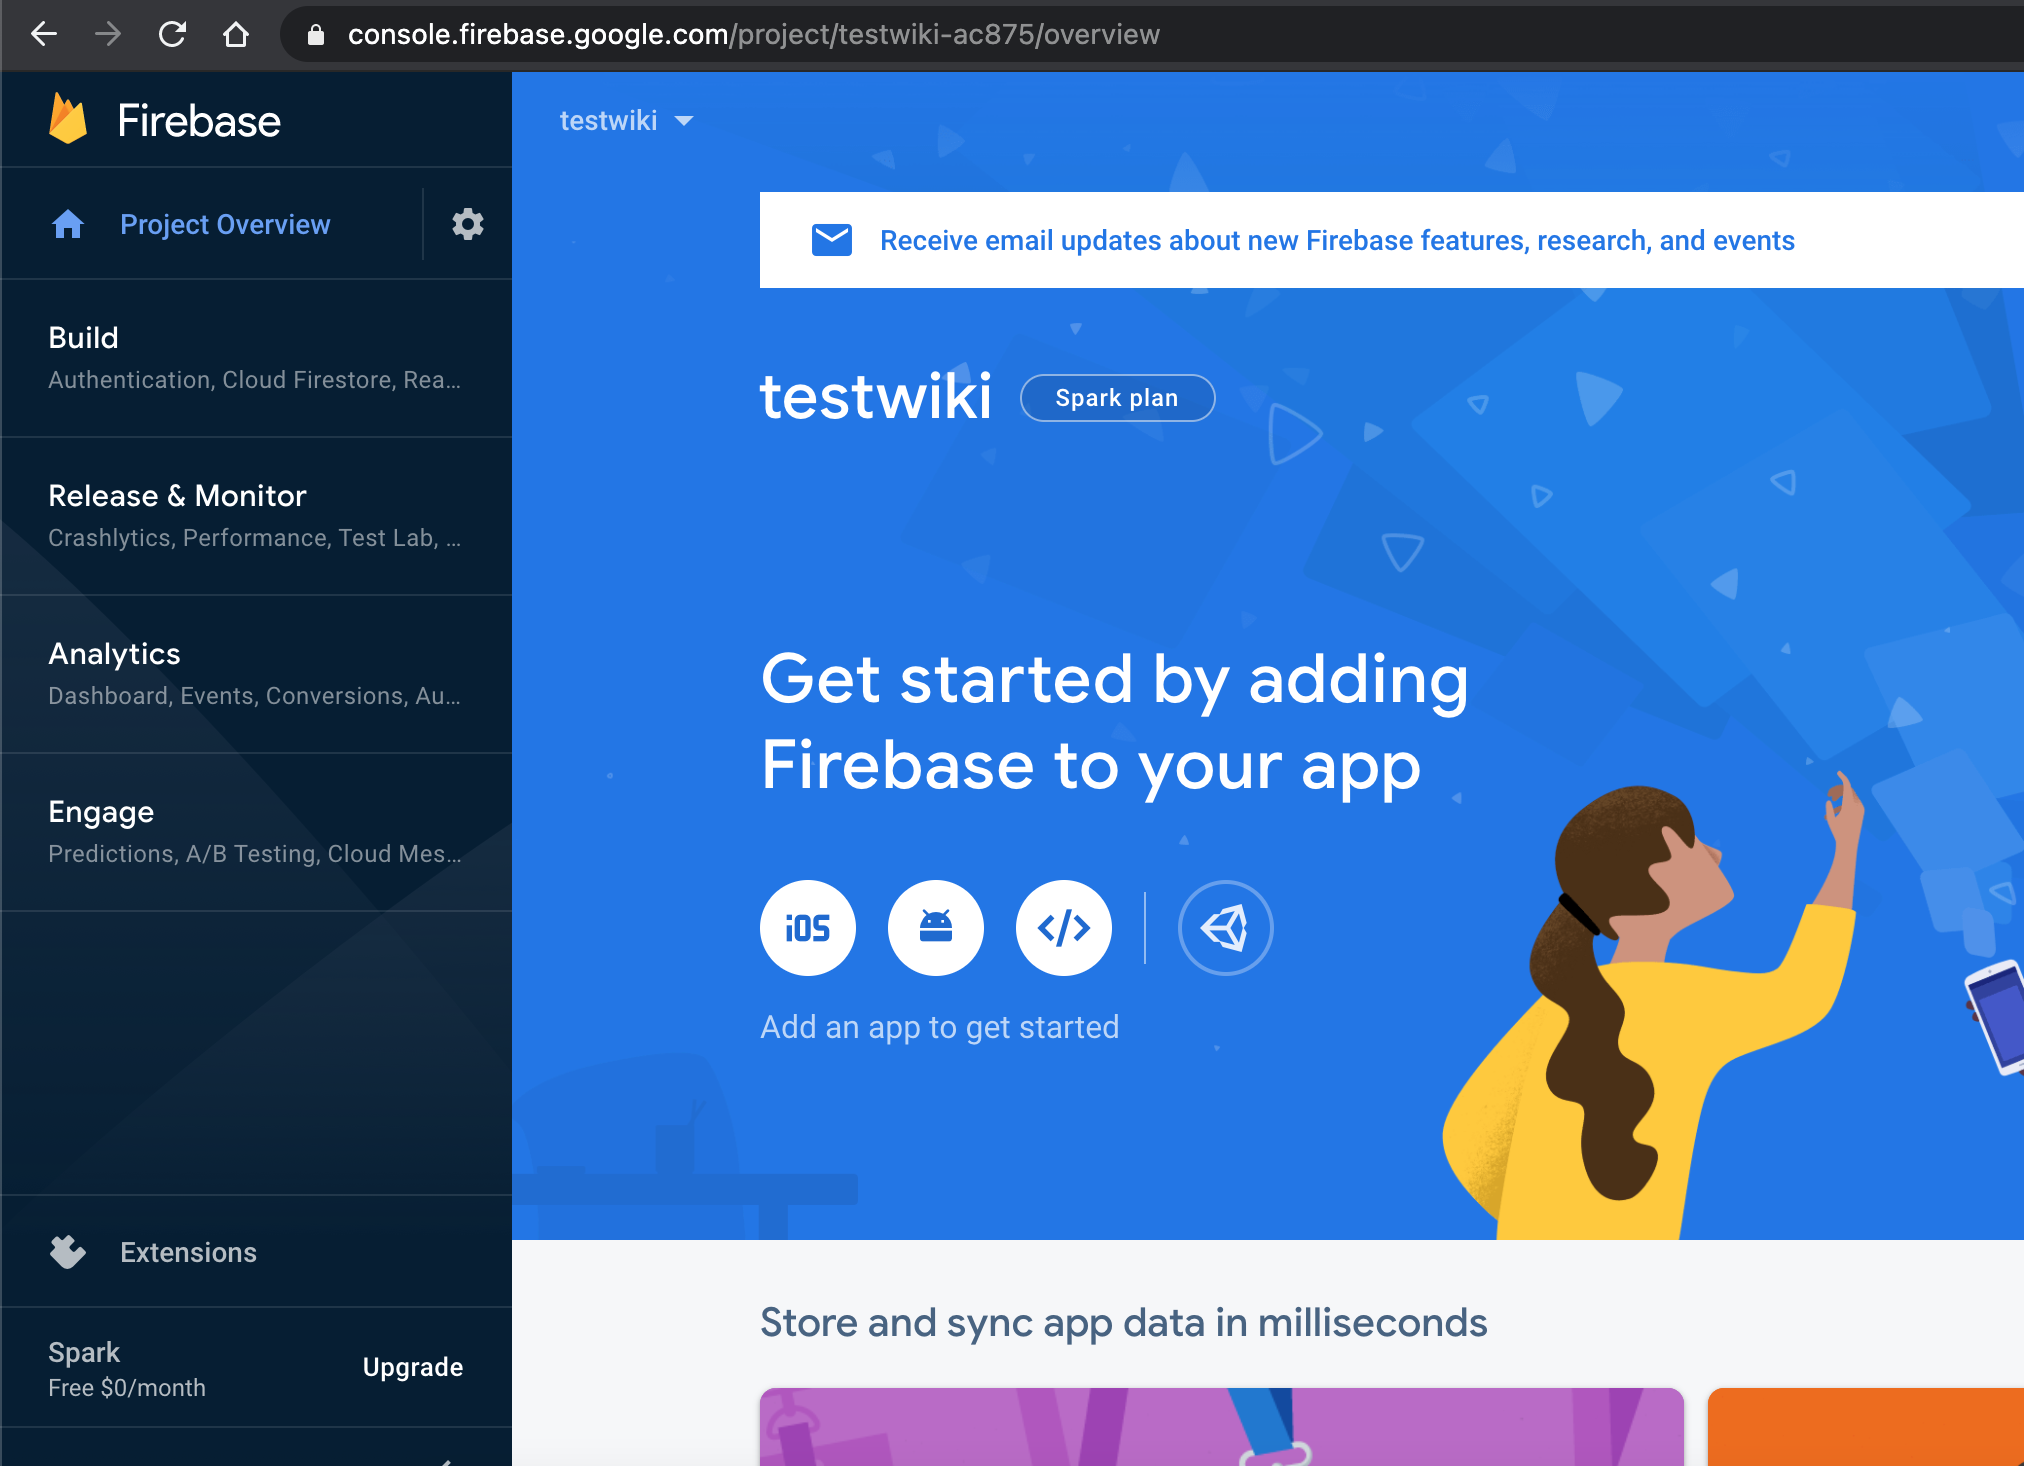
Click on the round white button labaled </> to create the web app.
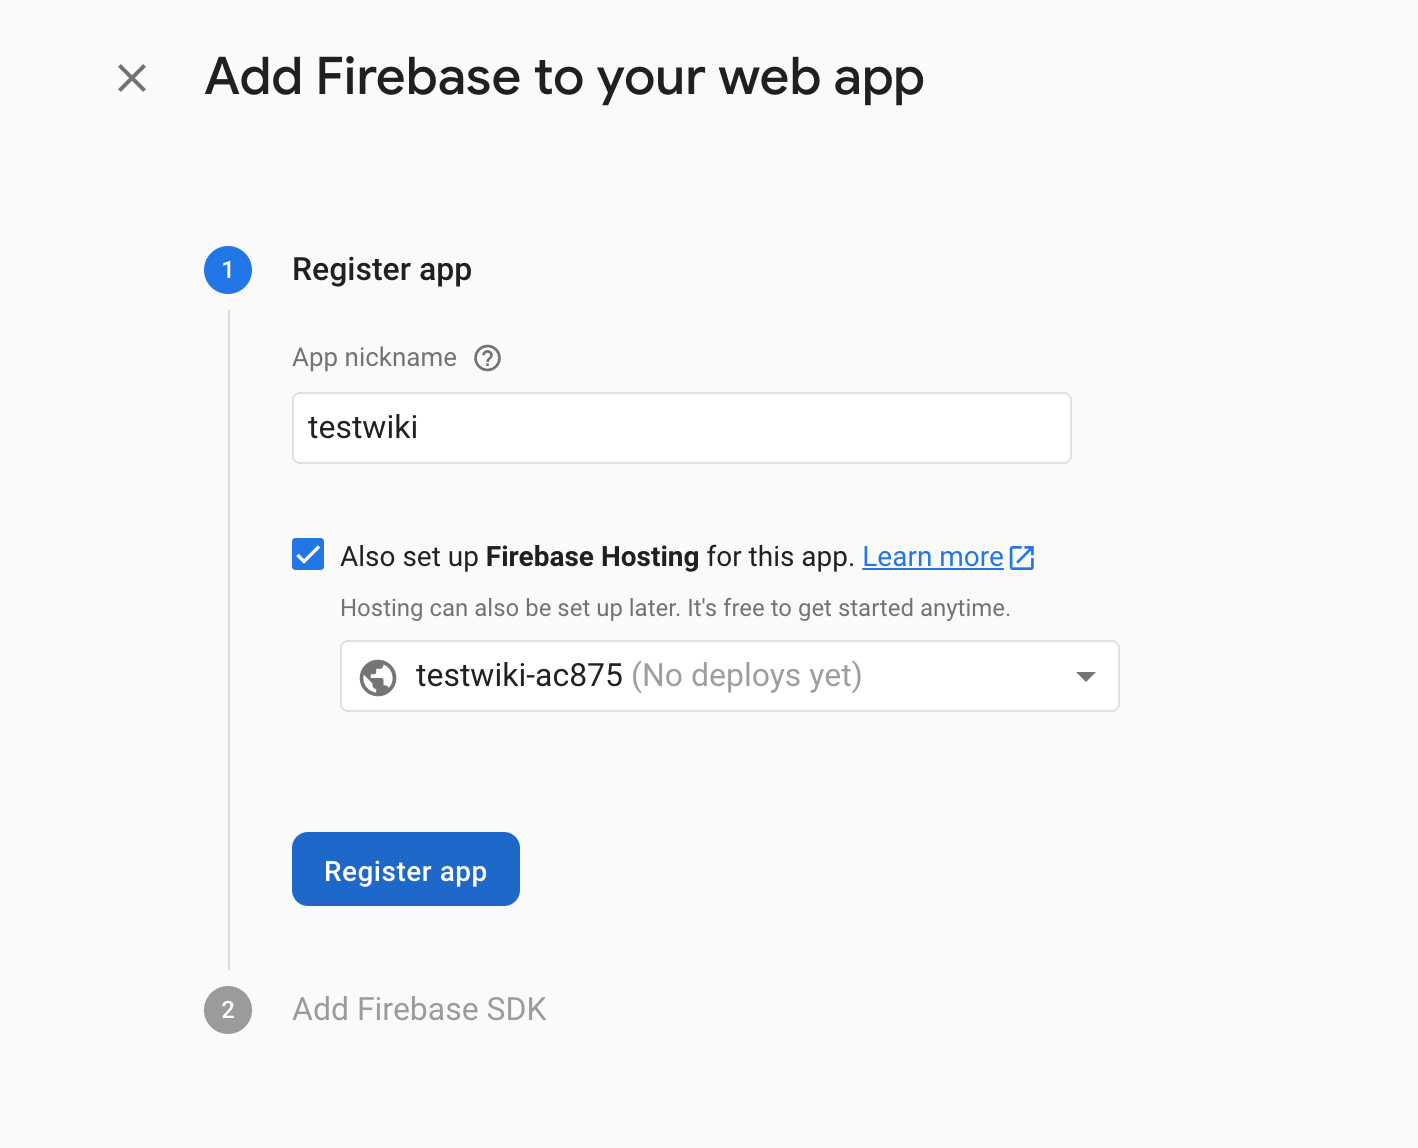
Let's call the web app testwiki as well. Be sure to tick Also set up Firebase Hosting for this app. Click on Register app. Throughout the wizard, code samples and example commands are shown, these can be safely ignored. Click Next and Continue to console to finish the app creation process.
Next step: Preparing the config files
Upgrade to the Blaze plan
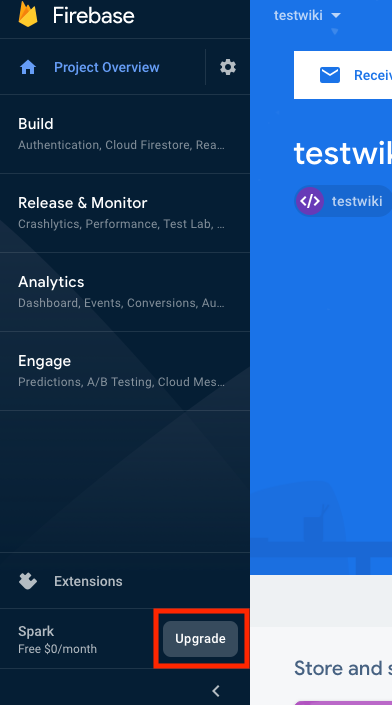
Firebase has a free tier (called the Spark) plan, but in order to use Firebase Functions (required by the backend), the "pay as you go" Blaze plan is required. Blaze still has a generous free usage quota, which is plenty for a personal notebook, but the upgrade does require you to set up a billing account (which in turn requires you to authorize your credit card). Click on the Upgrade button to the right to upgrade from Spark to Blaze
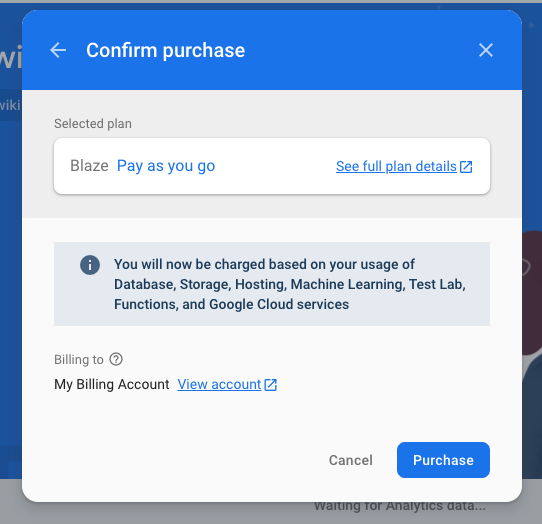
When asked to confirm the upgrade, select Purchase.
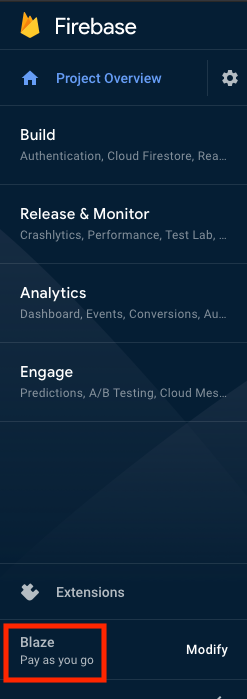
If the upgrade was successful, we should see the Blaze plan appear at the bottom left of the admin screen:
Setting the default project location
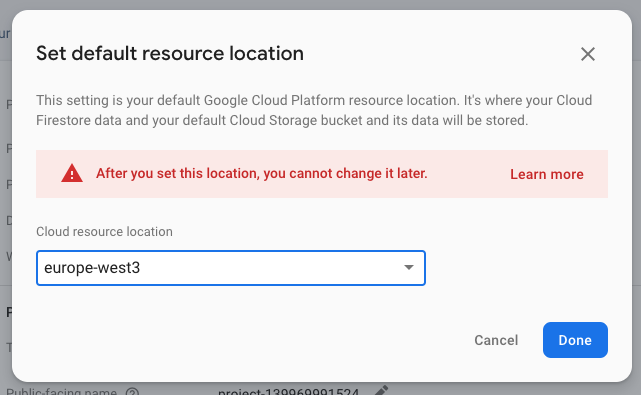
Firebase entities like the firestore storage instance or firebase functions are hosted from a particular GCP data center. We must set the default GCP resource location. To do so, click on the cog icon to the right of Project Overview near the top left of the screen, then select Project Settings. Finally, click the pencil icon to the right of Default GCP resource location: not yet selected.
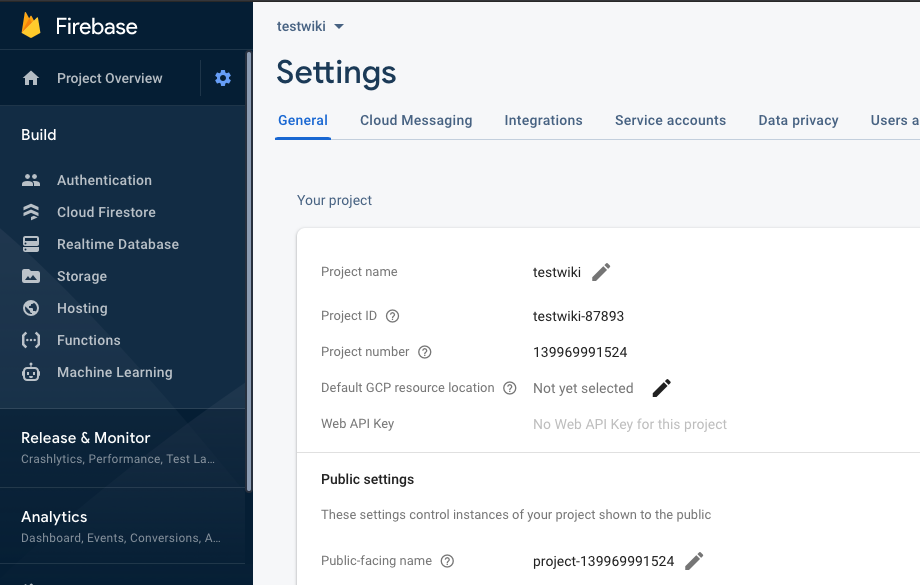
The default region is europe-west3, be sure to update wiki.apiRegion in etc/config.json if you're using something different.
Enabling Cloud Firestore
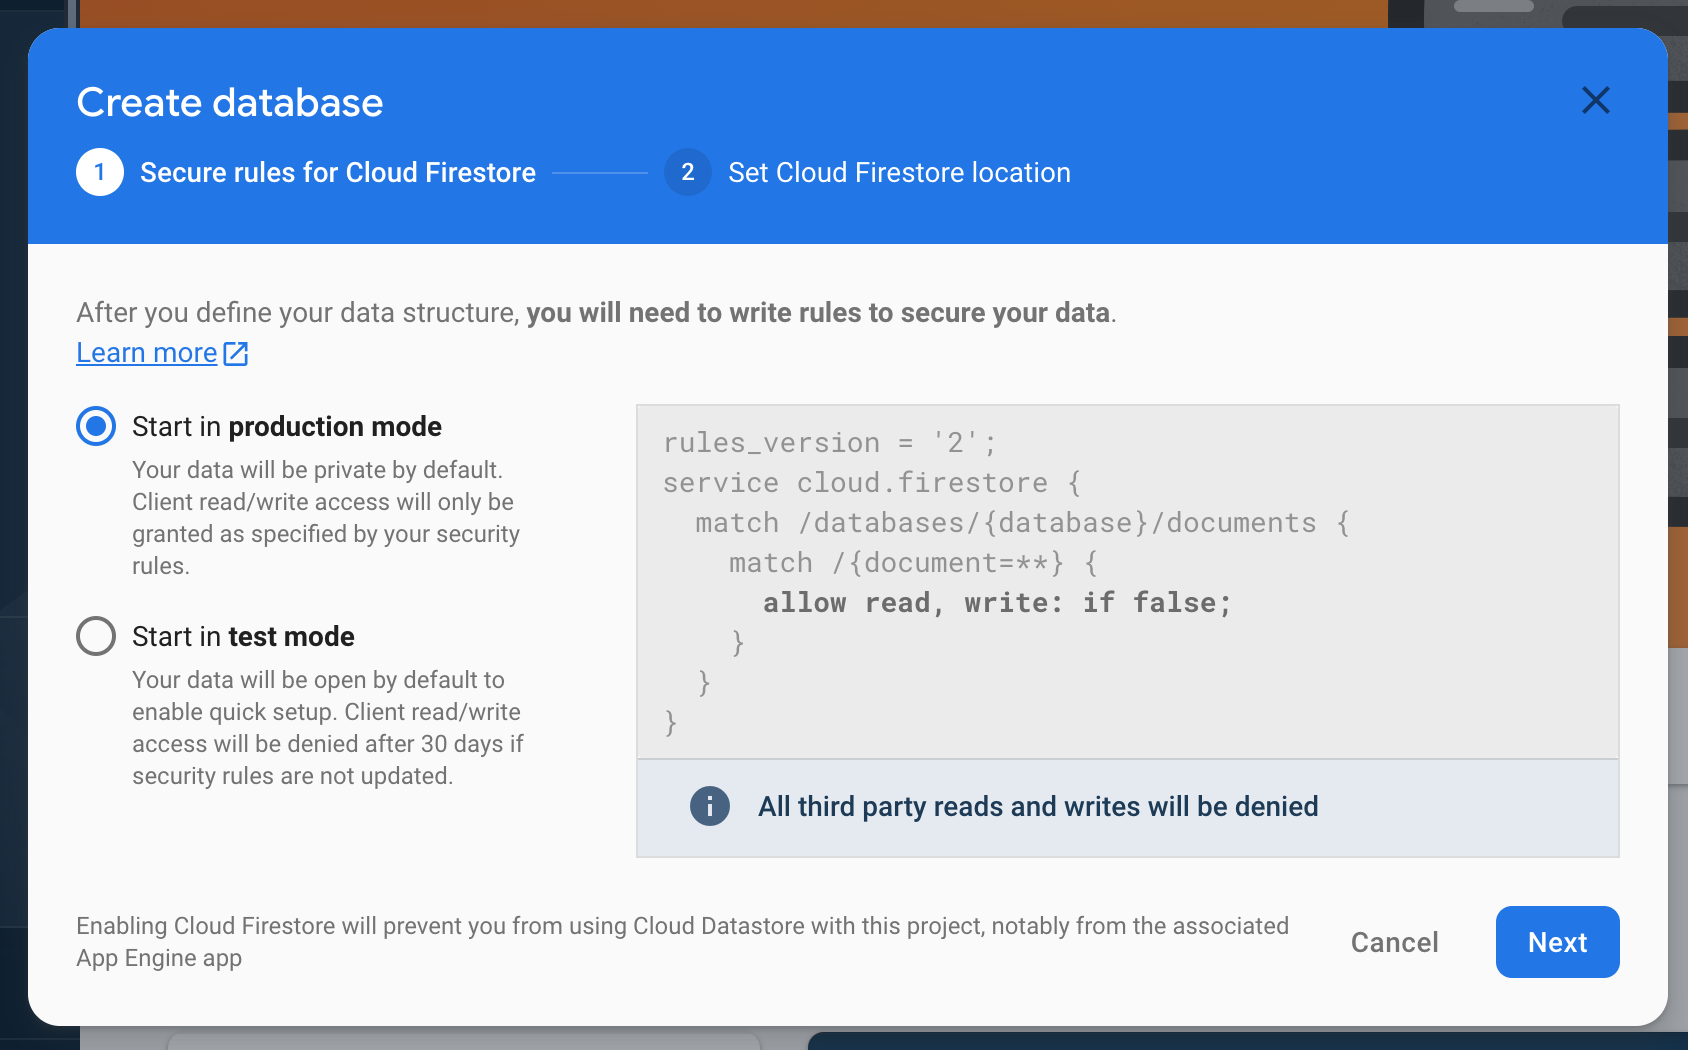
The database needs to be enabled before we can use it. Click on Cloud Firestore in the firebase admin. Then, click on Create database.

A wizard should appear. In the first step, leave the default settings.
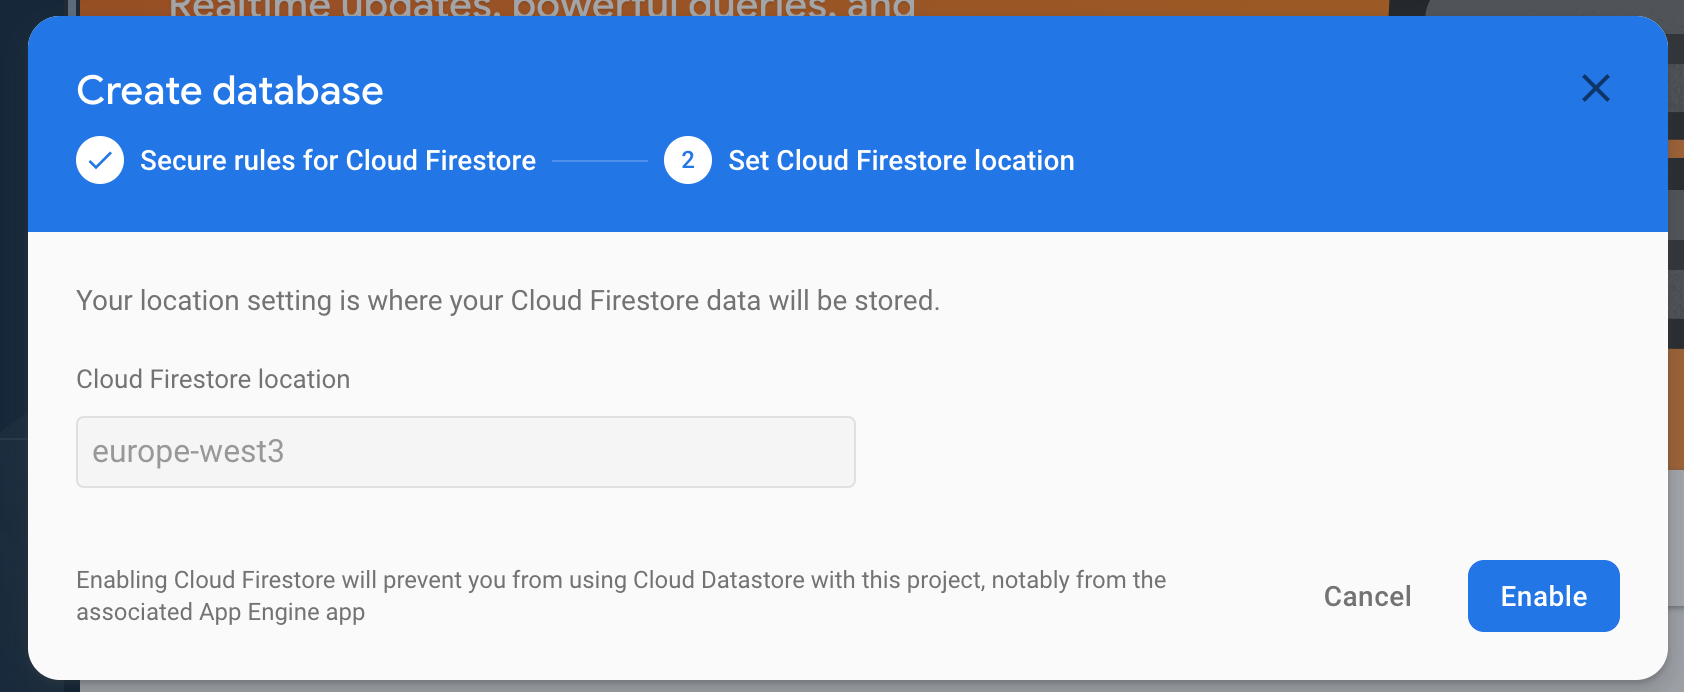
In the second step, verify that the GCP region hosting the database is the same region specified in etc/config.json property deploy.apiRegion. It should be filled in for you. Click Enable to complete the process.
Next step: First deploy!